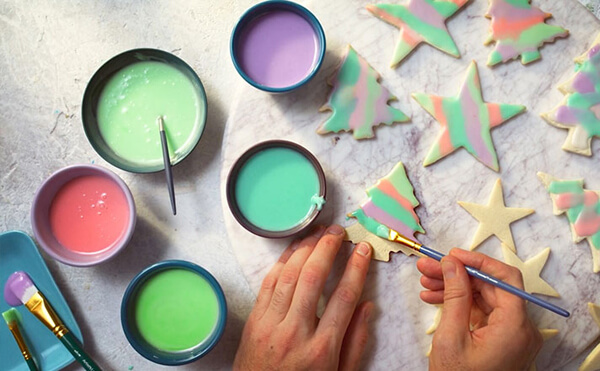
Cookies abound during the holiday season. Gather the family for a cookie-decorating party using our foolproof technique. You’ll need a craft paintbrush, our easy icing recipe, and your imagination. It really is as easy as 1, 2, 3!
If you’ve got a few pantry staples, a clean fine-tipped craft paintbrush, and cooled cookies at the ready, you’ve got a family-friendly activity lined up for a wintry pre-holiday afternoon.

Quick, easy cookie icing
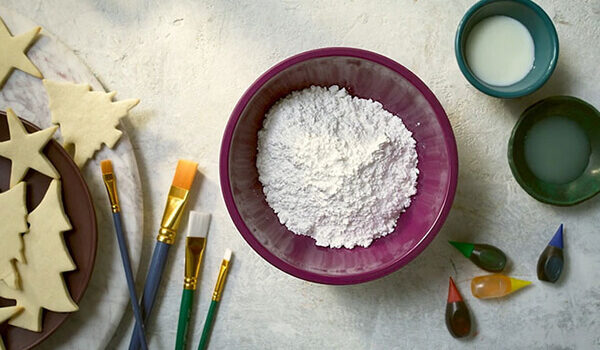
This one’s a cinch: All you need is icing sugar, milk, lemon juice, and assorted food colourings to make this easy cookie icing. First, sift the sugar into a bowl, then stir in the milk and lemon juice until the mixture is the consistency of honey. Too thick? Add more milk. Too watery? Add more icing sugar. Problem solved. Divide the icing into little bowls or cups to create your hues.

Painting the cookies
Mix a few drops of the food colouring of your choice into each bowl until you achieve your desired shade. Pull out some clean craft paint brushes‚—one for each colour—to brush icing onto cookies in any design you like.
Tip: Keep the brushes in their own bowls to avoid mixing the colours. To avoid smearing, wait about 15 minutes until the first layer of icing is painted on the cookie; if you paint additional colours on top of wet icing, the colours and design will mix and smear.
Cookie Add-ons
If adding sprinkles, shimmer pearls, metallic dragées, or other edible decorations, we suggest doing so while the icing is still wet so they’ll stick to the cookies. Then, all that’s left to do is pour a glass of milk for the kids and make yourself a cup of coffee or tea, sit back, and enjoy your edible art!


